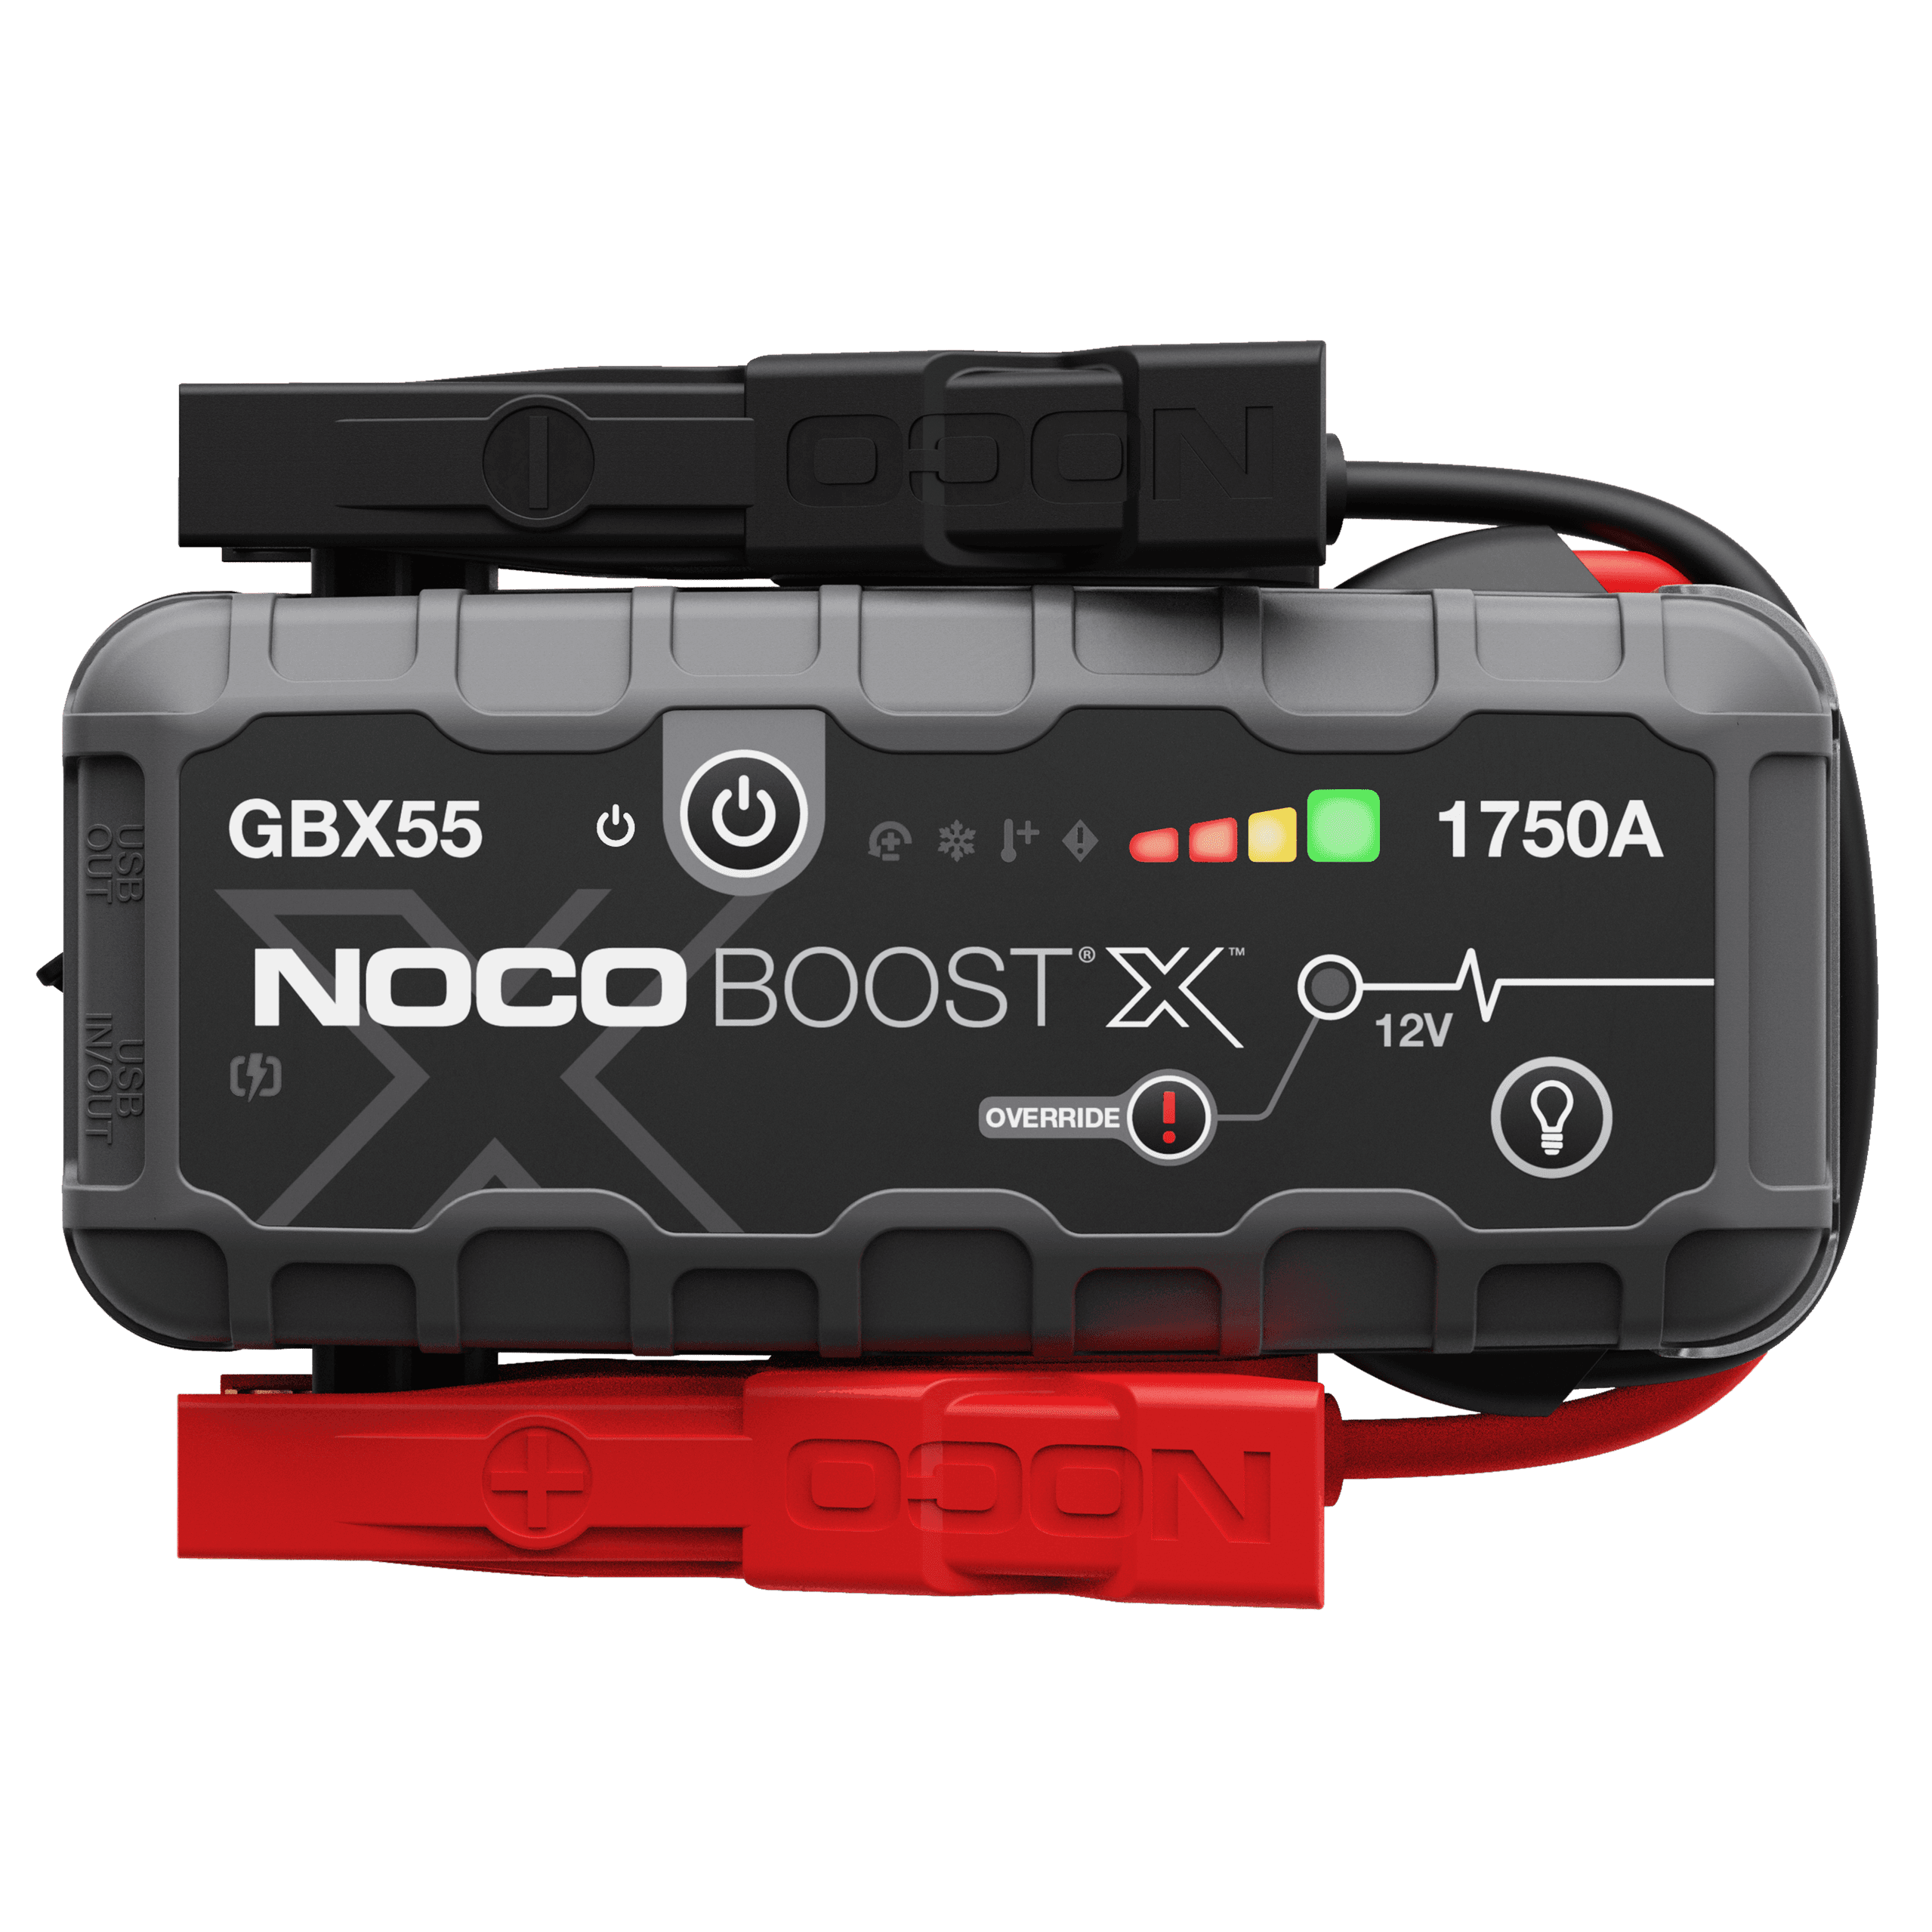
How To Jump Start your vehicle.
Learn how to safely jump start your car with NOCO Boost UltraSafe Lithium Jump Starters and keep your new driver prepared for the road. NOCO Boost is beginner-friendly and built around the same simple steps every time, so your new driver can learn it once and use it anywhere.
How To use a NOCO Boost

ATTACH CLAMPS.
Start with the positive (red) clamp, connecting it to the positive terminal on your battery. Then attach the negative (black) clamp to a chassis ground — an unpainted metal surface or bolt on the engine block, away from the battery and fuel lines. This grounds the connection safely without sparking near the battery itself.

POWER ON.
Press the power button on your Boost and wait for the LEDs to "chase." You'll see the charge lights cycle in sequence — this means the unit has detected a safe connection and is ready to go.

START VEHICLE.

POWER OFF.
Power off the device once your car is running, then remove the clamps in reverse order (negative first, positive second).
Note: If your car does not start or your LEDs do not chase, your battery may be reading under 2V, which is too low for the standard process to detect a safe connection. In this case, NOCO Boost's manual override mode can help — but use it with caution and make sure you fully understand how it works before attempting it. Instructions vary by device model, so check the manual override guide specific to your NOCO Boost.
See How It Works
how to jump start
More Videos
How to use manual override
More Videos
FAQ
Most Common Questions
Connecting the positive terminal first, followed by the negative, is the safest way to jump-start a battery. Leaving the negative clamp disconnected is generally safe because if it accidentally touches the vehicle chassis, it's only contacting ground. Once both clamps are connected to one battery, the opposite set becomes live, and accidentally touching them together can create a short circuit—unless you're using a safe lithium jump starter. Connecting the negative clamp first increases the risk of a short circuit, as the opposite clamp may already be touching a grounded surface.
You might want to connect to the chassis ground rather than the negative battery terminal, as it provides a more direct return path to the boost-assisted battery. As such, the return current does not have to travel through the dead battery's negative battery and battery cable and then to the jumper cable or jump starter. It can go directly from the chassis ground to the jumper cable or jump starter. A more direct return path allows for better current flow and less of a voltage drop.
Slightly revving the engine after a jump start will help the car's battery recharge faster. When your engine turns faster, the engine's alternator also turns faster. And when an alternator turns faster, it produces more electricity. And when it produces more electricity, the battery recharges faster. That being said, its also a good idea to let your vehicle run for 20-30 minutes after a jump start. An even better idea is connect the battery to a smart battery charger to completely recharge the vehicles battery. If you have a smart battery charger with a desolation or repair mode, I would highly recommend using that feature after jump starting a dead battery. The main purpose of desolation charge mode is to remove the sulfate that collected when the battery was discharged, and turn it back to active material again (or regained battery capacity).
If your car still does not start or your LEDs do not chase, your battery may be under 2V, which is too low for the standard process to detect. In this case, NOCO Boost's manual override mode can help — but use it with caution and make sure you fully understand how it works before attempting it. Make sure to check the manual override guide specific to your NOCO Boost, and read our Ultimate Manual Override Guide.
Connecting the positive terminal first, followed by the negative, is the safest way to jump-start a battery. Leaving the negative clamp disconnected is generally safe because if it accidentally touches the vehicle chassis, it's only contacting ground. Once both clamps are connected to one battery, the opposite set becomes live, and accidentally touching them together can create a short circuit—unless you're using a safe lithium jump starter. Connecting the negative clamp first increases the risk of a short circuit, as the opposite clamp may already be touching a grounded surface.
You might want to connect to the chassis ground rather than the negative battery terminal, as it provides a more direct return path to the boost-assisted battery. As such, the return current does not have to travel through the dead battery's negative battery and battery cable and then to the jumper cable or jump starter. It can go directly from the chassis ground to the jumper cable or jump starter. A more direct return path allows for better current flow and less of a voltage drop.
Slightly revving the engine after a jump start will help the car's battery recharge faster. When your engine turns faster, the engine's alternator also turns faster. And when an alternator turns faster, it produces more electricity. And when it produces more electricity, the battery recharges faster. That being said, its also a good idea to let your vehicle run for 20-30 minutes after a jump start. An even better idea is connect the battery to a smart battery charger to completely recharge the vehicles battery. If you have a smart battery charger with a desolation or repair mode, I would highly recommend using that feature after jump starting a dead battery. The main purpose of desolation charge mode is to remove the sulfate that collected when the battery was discharged, and turn it back to active material again (or regained battery capacity).
If your car still does not start or your LEDs do not chase, your battery may be under 2V, which is too low for the standard process to detect. In this case, NOCO Boost's manual override mode can help — but use it with caution and make sure you fully understand how it works before attempting it. Make sure to check the manual override guide specific to your NOCO Boost, and read our Ultimate Manual Override Guide.
Browse all resources for your Boost model
learn boost.
Cookies On This Site
Our website uses cookies, pixels, and similar technology (“Cookies”) to make the website work and to improve your online experience. Cookies that are essential for the functioning of our website are always active and cannot be turned off. With your consent, however, we may also use non-essential Cookies to improve user experience, personalize advertisements, and analyze website traffic. By clicking “Accept All,” you consent to our use of all Cookies, including these non-essential Cookies. You may block non-essential Cookies by clicking “Reject,” or change your cookie settings by clicking “Preferences.”
By using our website, you acknowledge this notice, and by clicking “Accept All,” “Reject,” or “Preferences,” you agree to our Website Terms of Use. See our Cookie Policy and Privacy Policy to learn more.