Cookies On This Site
Our website uses cookies, pixels, and similar technology (“Cookies”) to make the website work and to improve your online experience. Cookies that are essential for the functioning of our website are always active and cannot be turned off. With your consent, however, we may also use non-essential Cookies to improve user experience, personalize advertisements, and analyze website traffic. By clicking “Accept All,” you consent to our use of all Cookies, including these non-essential Cookies. You may block non-essential Cookies by clicking “Reject,” or change your cookie settings by clicking “Preferences.”
By using our website, you acknowledge this notice, and by clicking “Accept All,” “Reject,” or “Preferences,” you agree to our Website Terms of Use. See our Cookie Policy and Privacy Policy to learn more.
 Genius
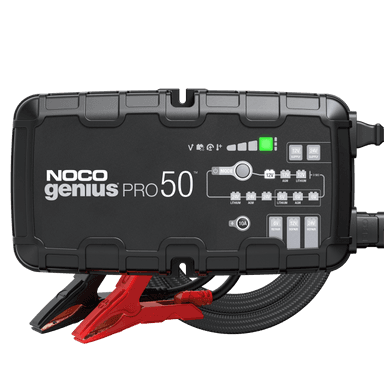
 GeniusPRO
 GEN
GEN GENPRO
 GX
GX