Car Battery or Alternator: Where's the Problem?
Find Out Why Your Vehicle Won't Start With These Beginner Tests.
What’s the Problem Exactly?
If your vehicle won’t start the problem probably lies somewhere within the two key parts its charging system: the battery or the alternator. If you take your vehicle to an auto parts store they may give you a new battery for a few hundred dollars, without running any tests. Don’t make this mistake! A faulty alternator could ruin a perfectly healthy battery, which would put you further back from a solution than where you started. Don’t fret as diagnosing your vehicle's electrical problem is so easy that anyone can do it by running these tests. For the tests you will need a multimeter which can be picked up at any auto parts store for as low as $5.
Testing Your Battery
A vehicle’s battery has a shorter lifespan than its alternator, and thus is more likely to be the culprit of your problems. In order to potentially save yourself time, it is wise to test the battery prior to the alternator. Follow the steps below to safely test the status of your battery.
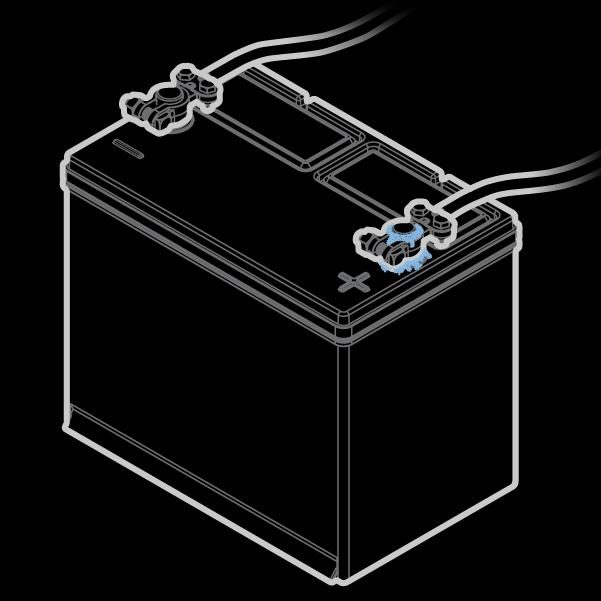
Inspect The Terminals.
Inspect your battery terminals for signs of corrosion. To clean the corrosion, first remove the clamp from the black negative terminal, followed by the red positive clamp. Cleaning is a breeze with a wire brush and a battery cleaner.

Inspect The Wiring.
Inspect the wire going into the terminal clamps to make sure they are snug, free of damage, and free of corrosion. If the terminal clamps are heavily corroded then replacing them with zinc battery terminals is an efficient way to improve your electrical connection. Additionally, heavily corroded wires may need to be trimmed and stripped before being re-clamped.
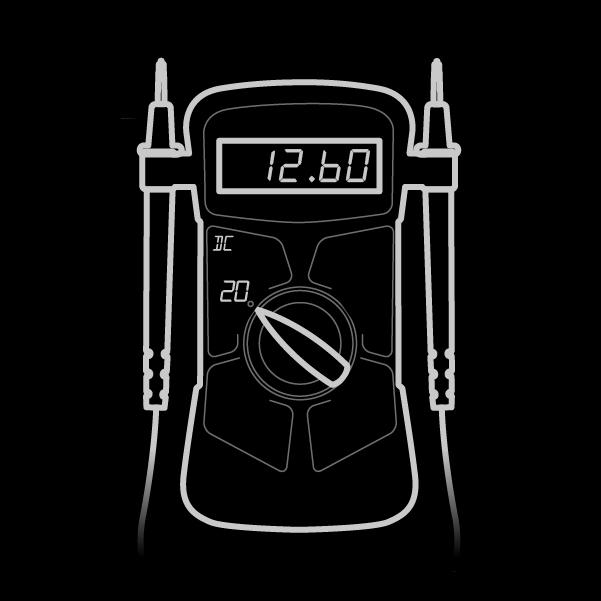
Check The Voltage.
Attach one of your multimeter's test leads to the negative terminal, and then the other to the positive terminal. If the voltage readout is lower than 12.6 volts, then your battery is weak and needs to be replaced.

Engine Starting.
Attach one of your multimeter's test leads to the negative terminal, and then the other to the positive terminal. Have a friend start up the vehicle while you are viewing the multimeter. If the voltage drops below 12v while the vehicle is starting, then your battery is weak and needs to be replaced.
Testing Your Alternator
Alternators are used to charge your vehicle’s battery while the engine is running. Undercharging/overcharging of the battery, or just a flat out dead alternator could be the source of your issue. Before running the tests below, check to see if the power belt is tight around the alternator and is spinning while the engine is running. Additionally, inspect the wiring from the alternator to the battery for any signs of damage, loose wires, or misconnections. Check out the tests below to diagnose your vehicle’s alternator.
Test A: The Load Test
The standard test to check the health of your alternator.
Start Up Your Vehicle.
Turn your key in the ignition as you normally would to start the engine.

Power The Accessories.
Turn on every electrical accessory you have access to. For example: stereo, air conditioning, heated seats, windshield wipers, etc.) Modern cars have more accessories, so be sure to put on the heaviest load you can.

Check The Voltage.
Attach one of your multimeter's test leads to the negative terminal, and then the other to the positive terminal. The voltage should read between 13-15 volts. If the voltage is outside of this range, then your alternator is bad.
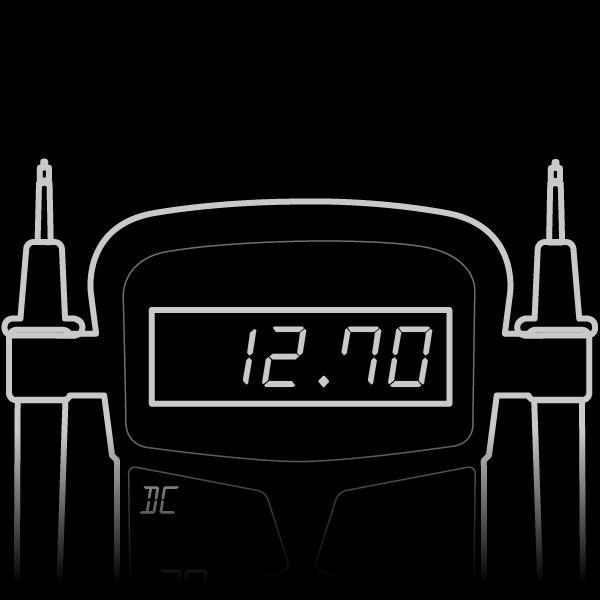
Check The Surface Charge.
When you power down the vehicle the voltage read out should be around 12.9 volts, then slowly drop back to 12.7 volts. This is called surface charging, and is a good sign that your vehicle's alternator is successfully doing its job.
Test B: The Light Test
This is a quick test is for individuals without access to a multimeter.
Find A Dim Or Dark Place.
In order to get a better reading for this test, it's best to be in a dimly light area.
Turn On The Headlights And Start The Vehicle’s Engine.
Turn your key in the ignition as you normally would to start the engine. Turn on your headlights to their standard setting.
Turn On All Of The Accessories.
Turn on every electrical accessory you have access to. For example: stereo, air conditioning, heated seats, windshield wipers, etc.
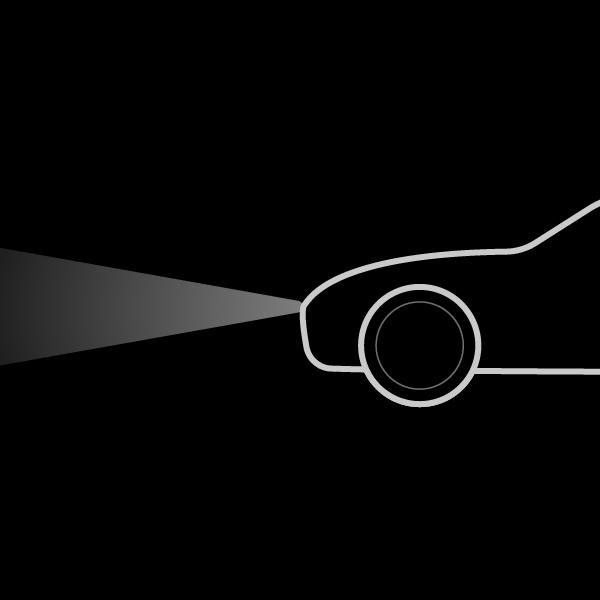
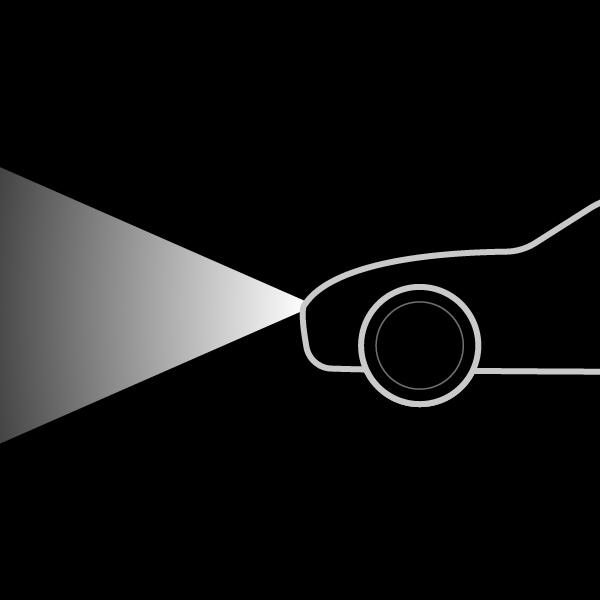
Inspect The Headlights.
Pay close attention to the luminosity of your headlights as you are turning on your accessories. If the headlights start to dim dramatically, then your alternator is bad. In more severe cases your headlights could continue to dim until the vehicle stalls completely.
Determining if it is the battery or the alternator at the root of your vehicle’s problem can be tricky. Hopefully by reading our guide you have been able to diagnose the issues with your vehicle. If you are still experiencing trouble, we recommend taking your vehicle into a trusted professional repair shop.
Cookies On This Site
Our website uses cookies, pixels, and similar technology (“Cookies”) to make the website work and to improve your online experience. Cookies that are essential for the functioning of our website are always active and cannot be turned off. With your consent, however, we may also use non-essential Cookies to improve user experience, personalize advertisements, and analyze website traffic. By clicking “Accept All,” you consent to our use of all Cookies, including these non-essential Cookies. You may block non-essential Cookies by clicking “Reject,” or change your cookie settings by clicking “Preferences.”
By using our website, you acknowledge this notice, and by clicking “Accept All,” “Reject,” or “Preferences,” you agree to our Website Terms of Use. See our Cookie Policy and Privacy Policy to learn more.